|
Academy F/A-18C Hornet
Construction Review Part Two
Ejection Seat & Nose Landing Gear
by Dave Roof
|
 |
|
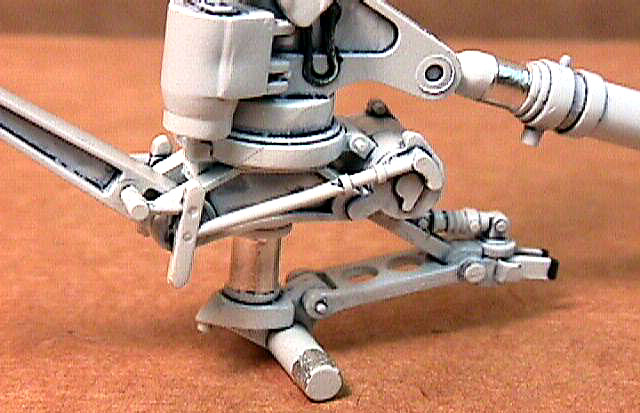
Close-Up of forward landing gear |

Academy's 1/32 scale F/A-18C
Hornet may be ordered online from Squadron.com
First, I would like to thank those that emailed me with kind
comments on the cockpit. They are really going to help motivate me to get this
kit done in a short time.
Second, I would like to point out that I do not intend this kit
to be a contest winner. My primary goal is to get the kit done and show you all
how it goes together, as well as show the details that are included. While I am
going to clean up the seams, I am not going to worry about missing a few. I'll
save all of that for my next one.
Now, on to part 2 of the build - The ejection seat and the nose landing gear.
The Ejection Seat
When I first looked at the seat on the sprues, something just
didn't look right. However, after I got the seat together, it looked more like
the SJU-5/A than I had thought it would. Comprising 14 individual parts, it
really does capture the look of the SJU-5/A. While it is missing a few very
minor details, they are not enough to worry about for most modelers. The only
negative are the harnesses. They are a little simplified and they are not
complete. Some may want to add their own or wait for the aftermarket guys to
release a new seat in resin.
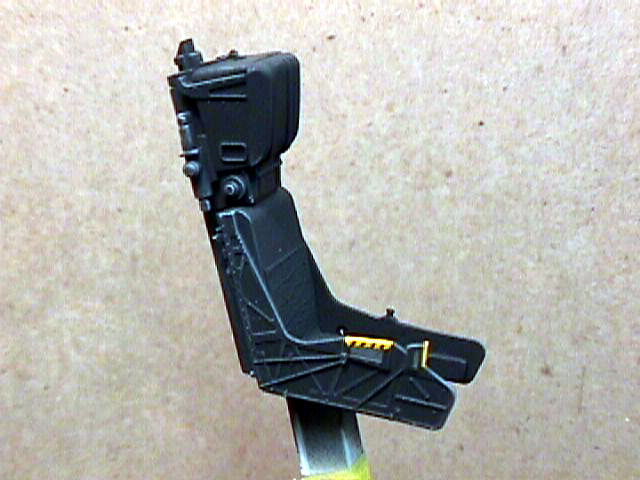
Photo 1: Here is a shot of the right side of the seat. It has been painted with
Tamiya NATO Black, and drybrushed with Model Master Enamel FS36375 Gray. The
Yellow handles were painted using Tamiya as well.
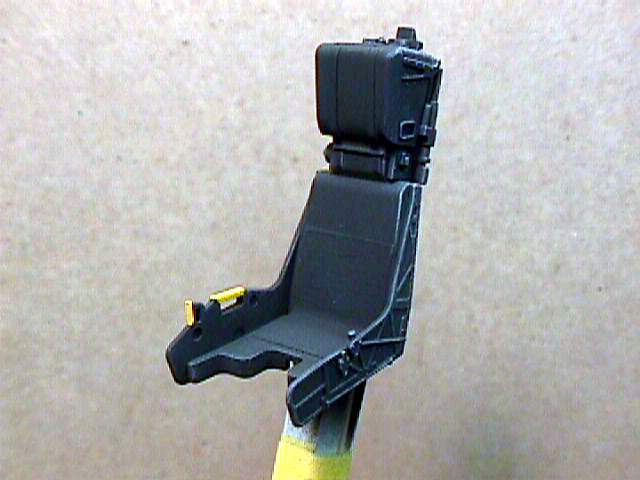
Photo 2: A front-left view of the seat. After the Black dried. I airbrushed
Tamiya Gloss coat to prep it for the stencil decals.
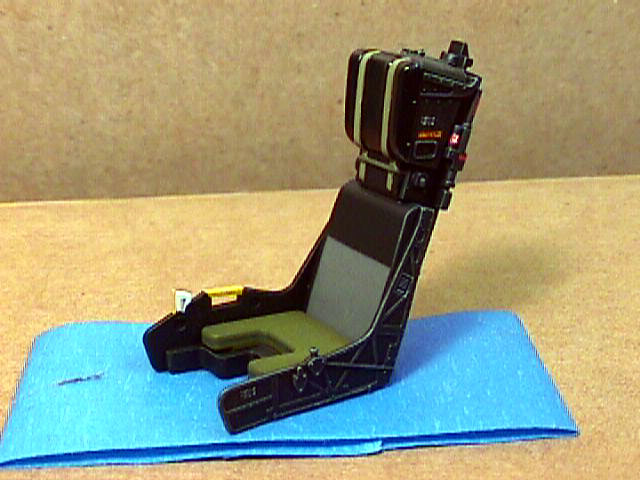
Photo 3 (13): Here is a shot of the seat painted and decaled. All of the stencil
decals were from the spares box and from Airwaves Data Placard set.
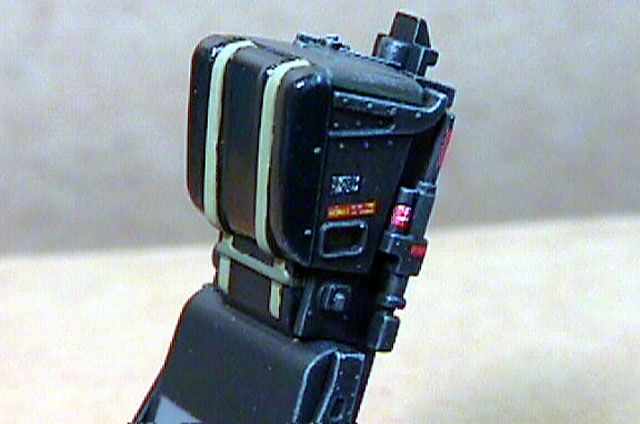
Photo 4: A close up of the headrest. After the decals were applied, I masked off
the headrest and applied Pollyscale Flat coat to the seat leaving the headrest
glossy.
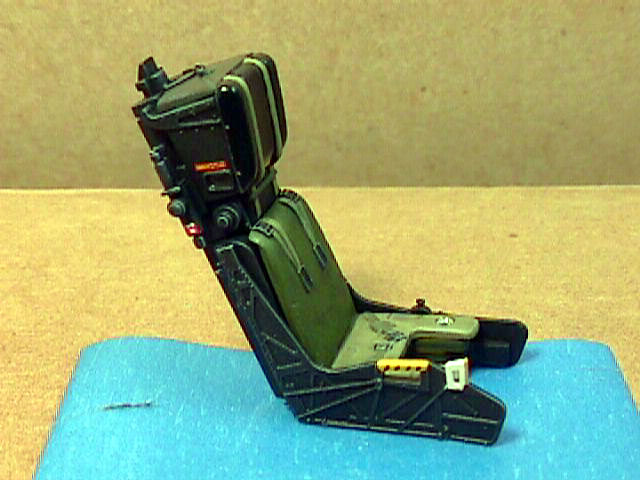
Photo 5: Here is the finished seat with all of the details painted. I used a mix
of Model Master Enamel, Tamiya, Vallejo, Pollyscale, and Wal-Mart Craft paints
to paint it.
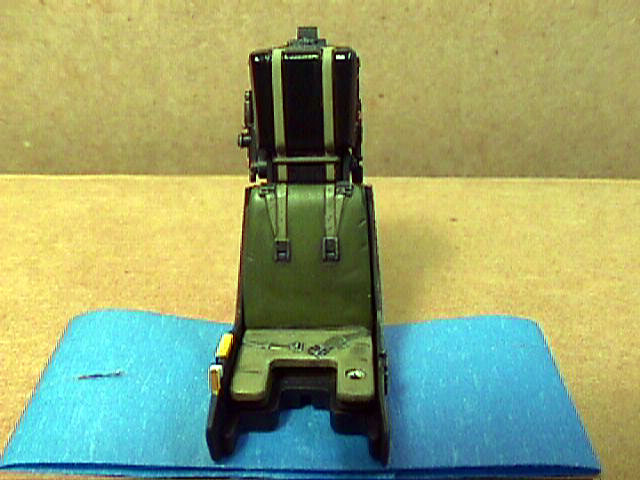
Photo 6: Front view of the seat showing the harness to good effect.
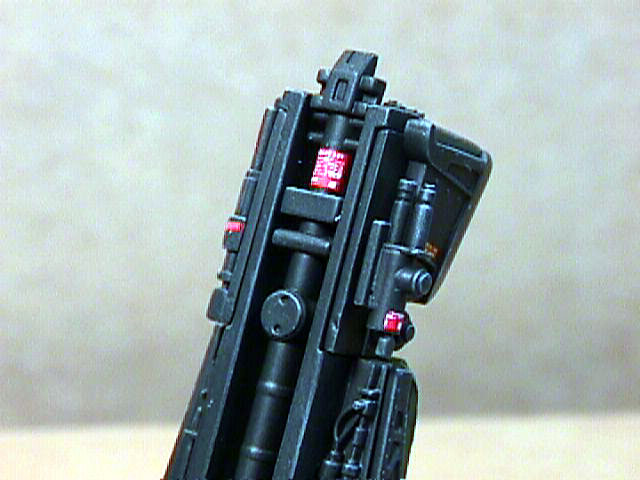
Photo 7: The back of the seat headrest. The part protruding from the top of the
seat is actually a little too high. It should be flush with the top of the seat.
The Nose Landing Gear
This is simply a work of art. Comprising 20 individual pieces,
the nose landing gear is a small kit in itself. The only negative to this is
that the launch bar can only be displayed in the 'up' position. If you want to
model your aircraft in a launch configuration, you will need to modify the
launch bar yourself. Also, pay attention to the instructions! I accidentally put
the aft strut on upside down. Fortunately, I was able to remove it, then
reposition it before the glue had set. Except for hydraulic lines, everything on
the real nose gear is on the kit nose gear.

Photo 8: These are the metal inserts for the landing gear. You will need to
clean up some mold lines prior to assembling the gear.
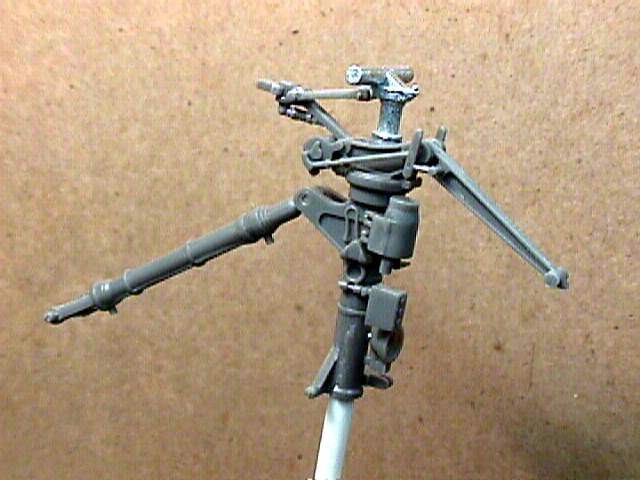
Photo 9: Here is the landing gear assembled prior to paint.

Photo 10: I first painted the landing gear with Tamiya XF-2 Flat White. Once
that was dry, I gave it a Gloss coat using Tamiya clear. After the gloss had
dried, I gave it a wash of Windsor & Newton Paynes Gray oil paint. After a few
hours, I removed the Gray from the raised areas using a cotton swab.
Photo 11: A close up of the wheel attachment area. I used Bare Metal Foil for
the oleo strut.
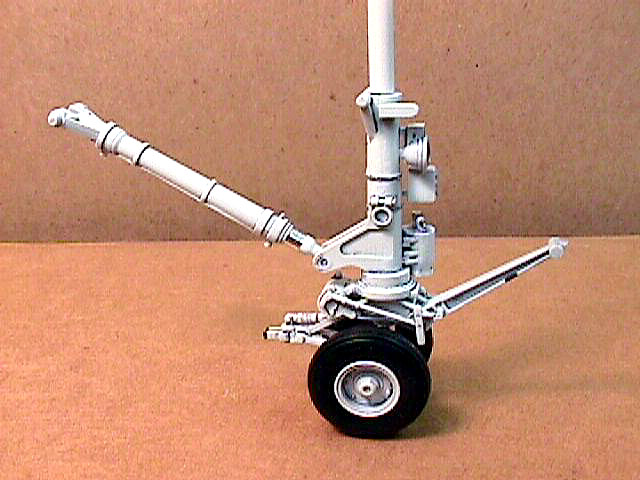
Photo 12: Overall shot of the landing gear with the wheels attached. I chose to
use the rubber tires on this one.
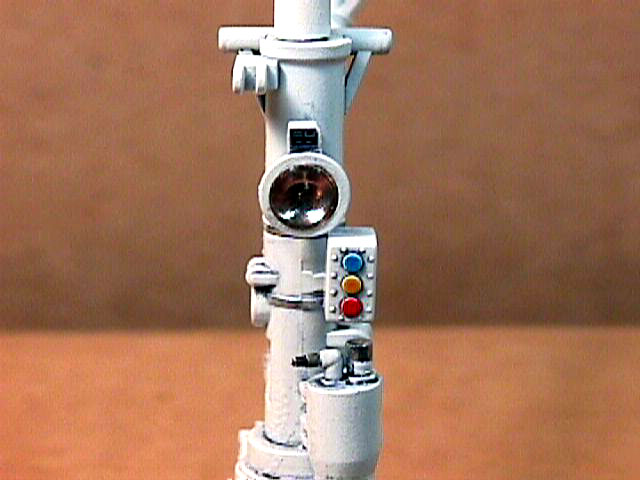
Photo 13: Close up shot of the landing light and Angle of Attack indicator
lights. The landing light is a MV lens (L149 - clear). The AOA lights were
painted with Tamiya clear Blue, Yellow, and Red. The data placard above the
landing light is from the Reheat set.
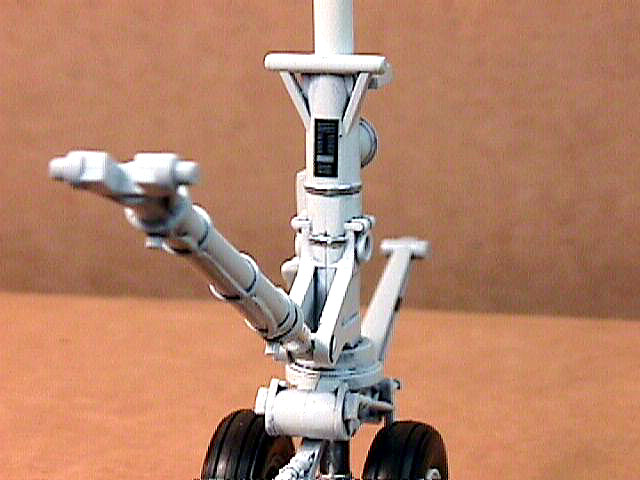
Photo 14: View of the aft end of the landing gear. The data placard is also from
the Reheat set.

Photo 15(23): Close up of the wheel area.
Well, that's it for now. Stay tuned for the main landing gear and other items
coming soon.
Text and Images Copyright © 2003 by
Dave Roof
Page Created 28 March, 2003
Last updated 15 August, 2003
Back to HyperScale Main Page
|
 Home | What's
New | Features
| Gallery |
Reviews | Reference
| Forum
| Search
Home | What's
New | Features
| Gallery |
Reviews | Reference
| Forum
| Search