|
Academy F/A-18C Hornet
Construction Review Part Three
Intakes and Nose Wheel Well
by Dave Roof
|
 |
|
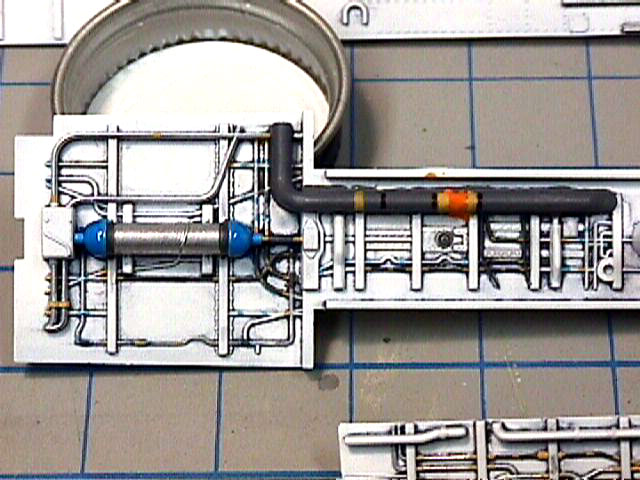
Front Gear Well Detail |

Academy's 1/32 scale F/A-18C
Hornet may be ordered online from Squadron.com
Construction -
Part Three
|
Well, I decided to finish the nose wheel well, intakes and aft
fuselage before moving on to the main landing gear. So far, the kit has gone
together with no problems whatsoever.
Intake Trunking
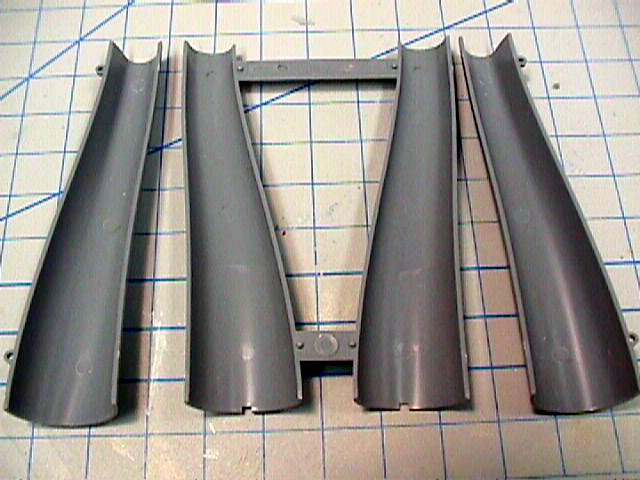
Photo 1: Here you see the bottom and top intake halves. There are a total of 12
ejector pin marks that will need to be removed. They were very light on my
sample and easy to remove with a sanding stick.
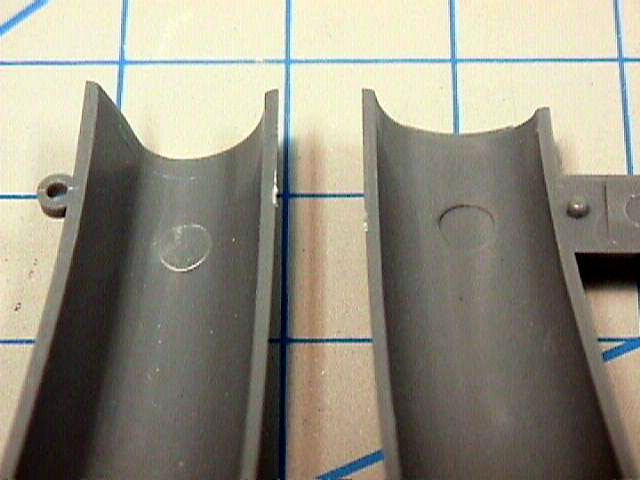
Photo 2: Close up of the ejector pins. As you can see, they are not that bad and
were very easy to remove.
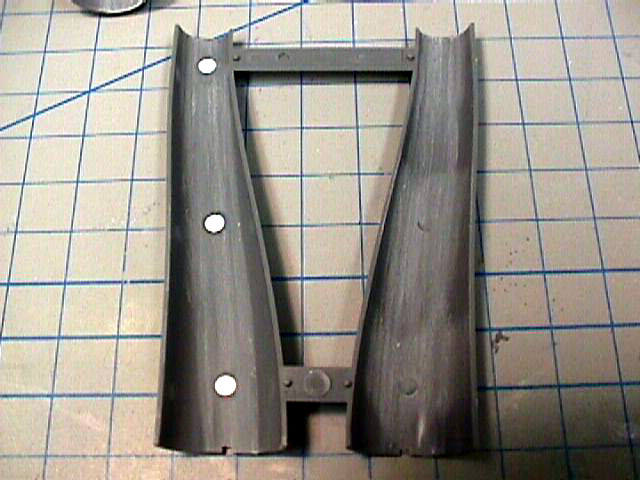
Photo 3: For three of the ejector pins, I punched out .005 discs of styrene and
super glued them in place. Once the glue dried, I sanded them flush.
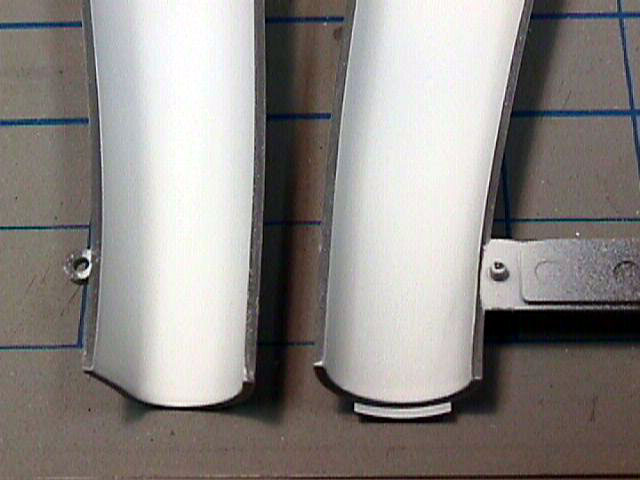
Photo 4 (7): Intake halves painted using Tamiya XF-2 Flat White. I have sanded
the edges for gluing.
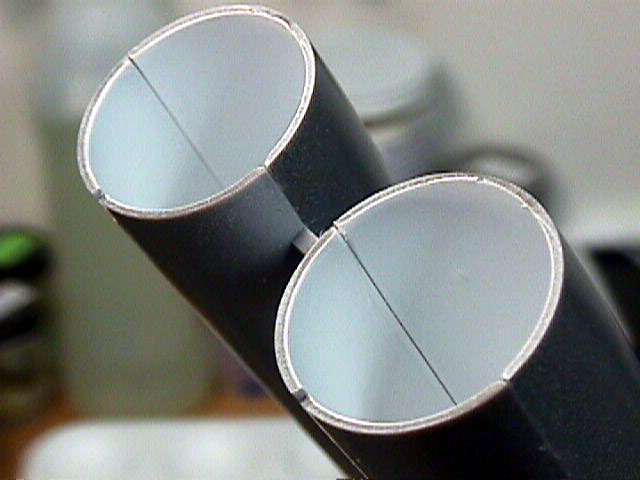
Photo 5 (8): The intake halves glued together. Note the seam. While there are
many ways of taking care of seams, this is what I like to do with intakes:
Photo 6 (9): First, I roll miliput into a fine line. Next, I place the miliput
along the seam inside the intake. Using liberal amounts of water and Q-tips, I
smooth the miliput out and into the seams.
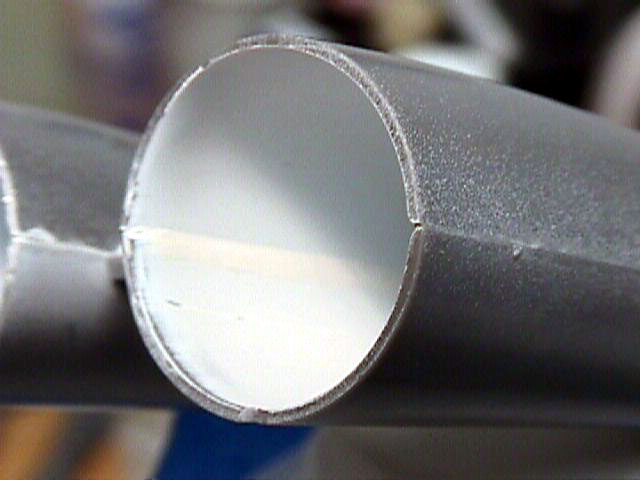
Photo 7: Here is the miliput once it is smoothed out along the seam. I take fine
grit sandpaper and lightly sand it smooth. I follow with a light spray of White
to touch up and cover the putty. While not perfect, it works for me and the
seams are difficult to see once the intakes are installed.
The Nose wheel well consists of 5 pieces and looks really good
compared to photos. There are a few items missing, but not enough to worry
about. Again, I painted the wheel well with Tamiya XF-2 Flat White. A wash of
Windsor & Newton Paynes Gray was used. Detail painting was done with Tamiya,
Model Master Enamel, Wal-Mart craft paints, and a Black fine tip Sharpie marker.
Forward Wheel Well
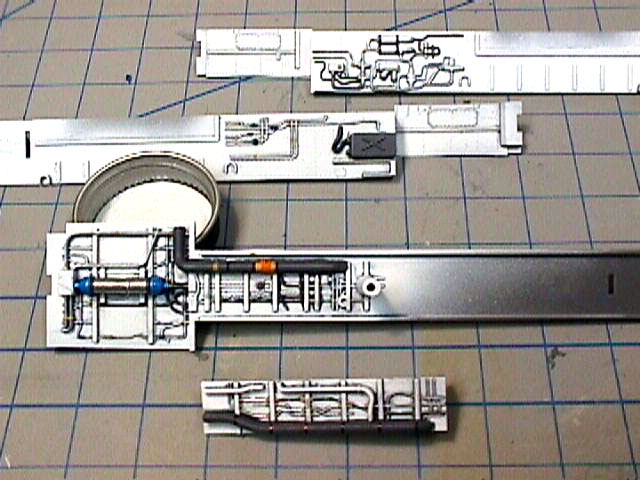
Photo 8: The wheel well components painted prior to assembly.
Photo 9: Close up of the top forward portion of the wheel well.
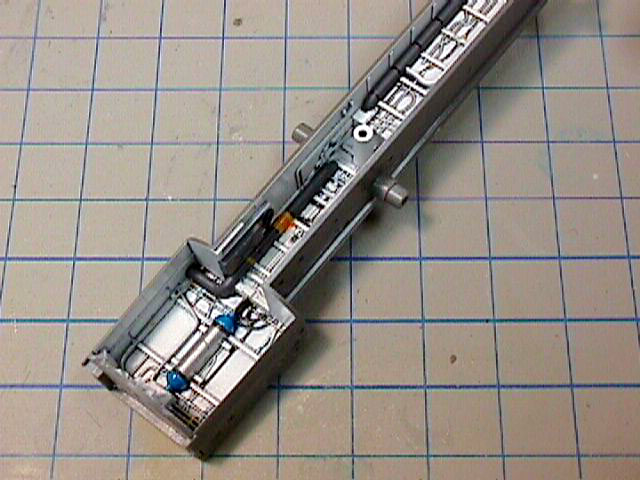
Photo 10: The wheel well assembled and ready for installation into the forward
fuselage halves. This went together very well and it fits into the fuselage with
no problems. The locator pins ensure a perfect fit, as well as ensure the nose
landing gear will be straight when installed.
Next I'll have the assembly and installation of the engines. I will also cover
the assembly of the aft fuselage half.
Text and Images Copyright © 2003 by
Dave Roof
Page Created 02 April, 2003
Last updated 15 August, 2003
Back to HyperScale Main Page
|
 Home | What's
New | Features
| Gallery |
Reviews | Reference
| Forum
| Search
Home | What's
New | Features
| Gallery |
Reviews | Reference
| Forum
| Search