|
Academy F/A-18C Hornet
Construction Review Part Five
Forward Fuselage
and Fuselage Assembly
by Dave Roof
|
 |
|
Coming Together! |

Academy's 1/32 scale F/A-18C
Hornet may be ordered online from Squadron.com
Here I will cover the assembly of the forward fuselage half and
attach it to the aft fuselage section.
Forward Fuselage
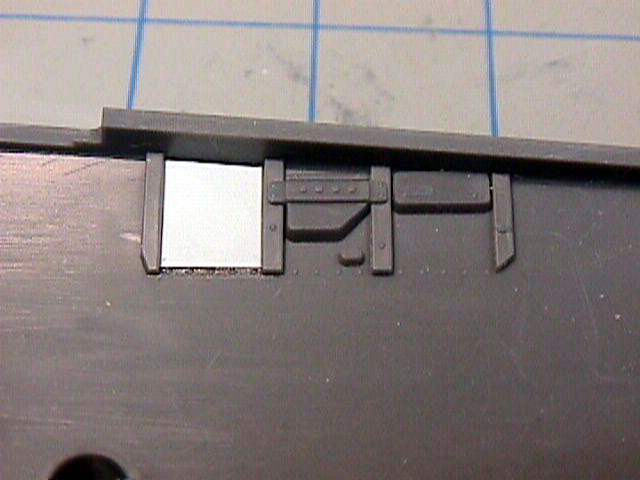
Photo 1: This is a photo of the left side wall inside the
cockpit. There is a fairly large ejector pin mark here. Instead of trying to
fill and sand it smooth, I simply covered it with a piece of .005 plastic cut to
shape. I painted the side walls Tamiya NATO Black, and gave them a drybrush of
FS 36375.
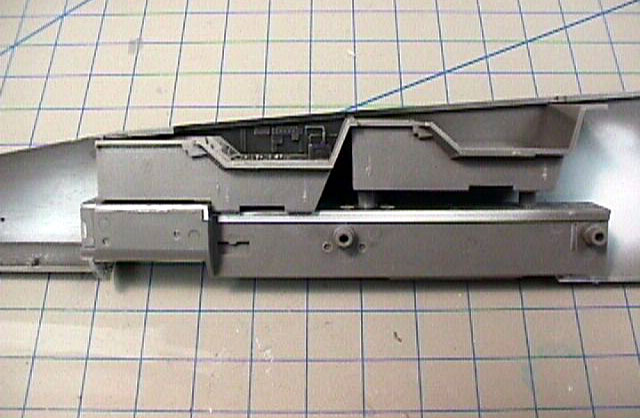
Photo 2: Here is the cockpit and nose wheel well assembly placed inside the
fuselage. Due to the locating pins, and the tight fit, no glue was needed here.
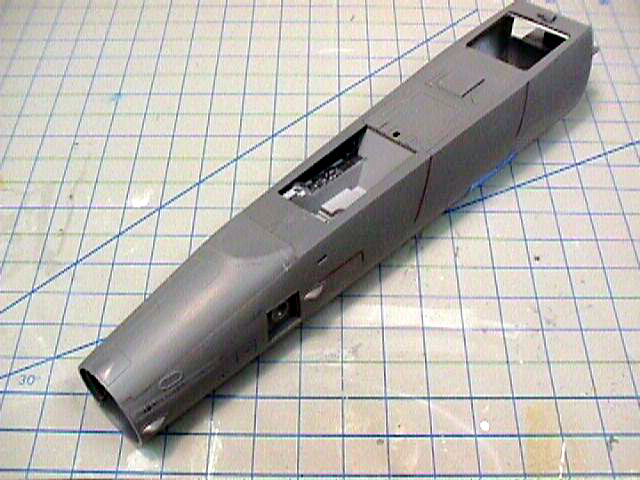
Photo 3: The forward fuselage section assembled. The upper nose section is a
separate piece and fit perfectly.
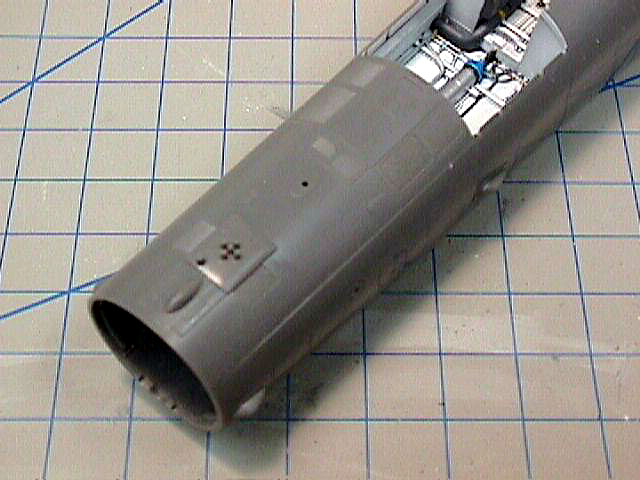
Photo 4: The aircraft I'm depicting has the mesh gun gas vents, so I used the
appropriate piece provided in the kit. Again, this part fit with no problems.
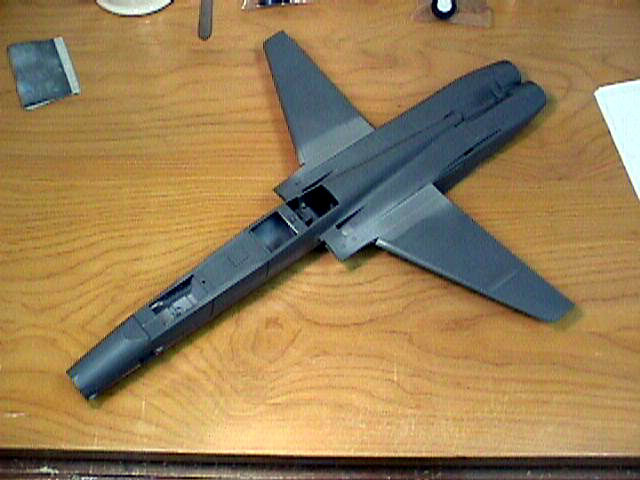
Photo 5: The F/A-18 is coming together! The two fuselage sections went together
with no problem and only a little filler was needed.
I'll cover the rest of the fuselage components, as well as the main landing gear
in the next installments.
Text and Images Copyright © 2003 by
Dave Roof
Page Created 08 April, 2003
Last updated 15 August, 2003
Back to HyperScale Main Page
|
 Home | What's
New | Features
| Gallery |
Reviews | Reference
| Forum
| Search
Home | What's
New | Features
| Gallery |
Reviews | Reference
| Forum
| Search