Here are my initial thoughts on the
Italeri JAS 39 Gripen
in 1/48 scale, plus a few suggestions for simple improvements.
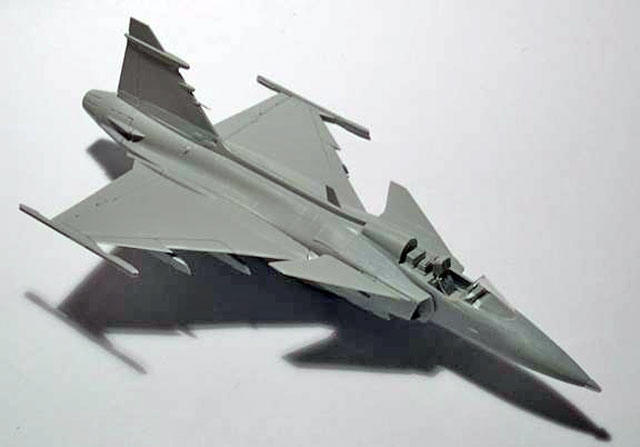
Upon opening the box I realize just how long I’ve
been waiting for this moment. It’s finally here! A
Gripen in 1/48 scale, unbelievable! At first glance the kit looks
quite good, with its engraved panel lines.
Compared to its 1/72 sibling greater care has been
taken into detailing the wheels and wheel wells. But other than that,
this is basically an up scaling of the 1/72 kit.
For those who are unfamiliar with the 1/72 kit I
can say that it follows the Italeri
tradition of deep and wide panel lines and soft details.
The cockpit lacks any kind of detail. And for a kit
in this scale it feels somewhat disturbing. Hopefully there will be some
resin kits fixing this in the near future! The ejection seat is a
Martin-Baker Mk 10L, and luckily the seat is already available in resin
form.
The kit includes decals for two
RSwAF Gripens
and one Czech. Most of the decals look ok, but the ID numbers for the
Swedish Gripens are much too large and are
best to be replaced.
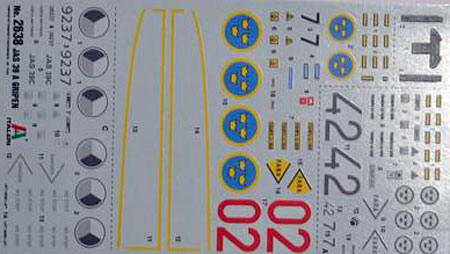
Armament offered in the kit consists of two AIM-9
air to air missiles, two AGM-65 ground attack missiles and two RBS-15
sea skimming missiles. There is also a fuel tank and a
jammer pod available. The Czech alternative
can carry close to everything in the NATO inventory, so that’s up to the
imagination of the builder. However it must be
mentioned that the kit represents an A version of the
Gripen, whereas the Czechs will be getting
the C version. The main external difference is some new antennas
fitted on the vertical fin and a new APU outlet. Go here
http://www.gripen.com to get some nice pictures .
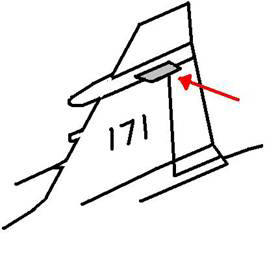
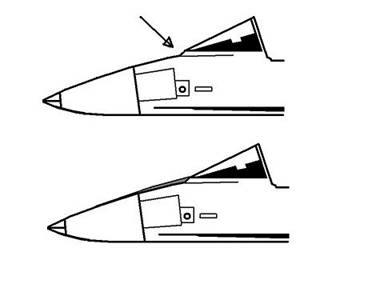
C Version Antennas for Czech Option
New antennas on the Czech
version. One for each side of the fin.(not
included in the kit):
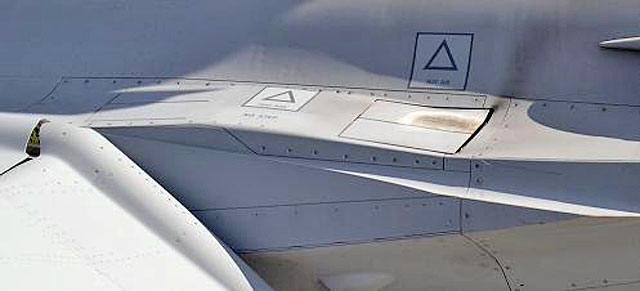
C Version APU Exhaust
Notice the distinct bulge, and the flaps for the
intake and exhaust.(not included in the kit)
Modifications
and Improvements
|
What good are nice details if a fully built kit
doesn’t mirror the real thing?
Remember how good the Revell
1/32 Gripen looked un-built in the box?
Well, I sure do. I also remember how poorly it resembled a
Gripen when it was put together. Sad
memories for sure.
The new 1/48 scale Italeri
kit on the other hand does resemble a Gripen,
in fact very much so.
The kit will look okay if it is built right out of
the box but of course, there is always room for improvement. I will now
describe some small modifications that can help to improve the look of
this kit a great deal.
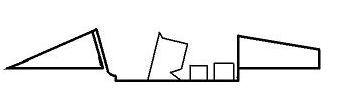
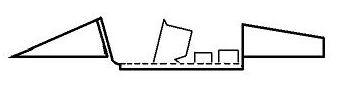
Cockpit Framing
First, the framing around the cockpit needs to be
fixed. In the kit these are too deep and needs to be heightened by about
1,2 mm. See below:
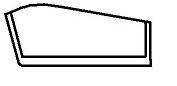
1.
Unmodified kit cockpit.
2.
Improved kit cockpit
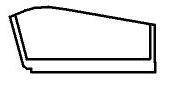
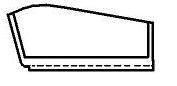
Canopy
The kit's
canopy, although nice and crisp in detail, also needs some modification.
The framing on the bottom of the canopy is much too high in profile. In
order for it to fit, it needs to be sanded down by about 1.2
mm. This will also make it look like the real thing.
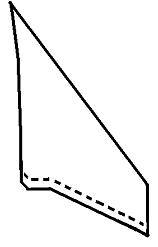
|
1. Unchanged canopy |
2. Area to be sanded down |
3. Improved canopy |
 |
 |
 |
| |
|
|
Upper Nose
The upper part of the nose needs to be corrected as
well. The windscreen in the kit rests on an elevation which isn’t there
on the real thing. However, some putty will fix this right away. See
below.
Canards
Now for the canards! These needs some work. Firstly
they need to be corrected in shape. Compared to the real thing they are
too large on the inner and outer chord. They are also much too thick.
The thickness is easily fixed, 10 minutes of sanding is all that is
needed to make them look thin enough. See below.
Additional Hints and Tips
Another tip is to get rid of all the antennas on
the kit and replace them with new thin ones made from plastic card.
If you plan to build your
Gripen in “resting” mode, here are some things you might need to
know.
The inner section of the trailing edge flaps will
have a noticeable droop.

The outboard trailing edge flaps can be put in any
position the builder would want. The same goes for the canard fore
planes. But normally they have a slight forward droop of a degree or
two.
When on the ground the leading edge slats are
always locked in place, unless they have been deployed by a technician,
but this is most likely to happen when the plane is going through
maintenance.
The landing gear doors are always open when the
plane is between missions. They close during taxiing when the plane gets
up to speed, and opens again when the engine is shut off.

I hope this review will help you should you decide
to build this beautiful machine. If you have any questions please feel
free to e-mail me at
robbanwesterberg@hotmail.com I will gladly answer all your queries.
Recommended.
 Home | What's
New | Features
| Gallery |
Reviews | Reference
| Forum
| Search
Home | What's
New | Features
| Gallery |
Reviews | Reference
| Forum
| Search
